
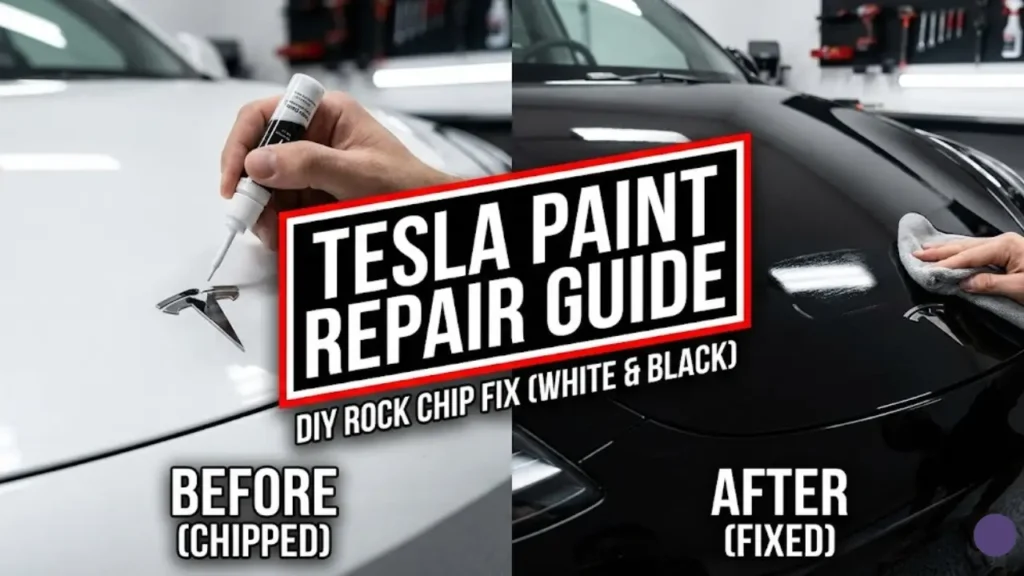
You just finished washing your Model 3, and it looks stunning. But as you dry the hood, your heart sinks. There it is—a tiny, ugly crater in your beautiful paint. A rock chip.
It stands out like a sore thumb. If you have a black Tesla, it looks white (primer). If you have a white Tesla, it looks black (plastic or metal). It drives you crazy every time you walk up to the car.
If you are searching for how to fix Tesla rock chips, don’t panic. You don’t need a $800 body shop visit. In our experience, Tesla paint is soft, but it is also incredibly easy to touch up at home with the right kit.
For small rock chips and scratches, a “Paint Touch-Up Kit” is the gold standard.
- Best Option: Dr. ColorChip (Easiest to blend, idiot-proof).
- Runner Up: Tesla OEM Paint Repair Kit (Available in the Tesla App, slightly harder to master).
- Time Required: 20 minutes.
- Cost: $45 – $65.
Why Does Tesla Paint Chip So Easily?
It is not just bad luck; it is chemistry. Tesla manufactures cars in California, which has some of the strictest environmental laws in the world regarding VOCs (Volatile Organic Compounds).
Because of this, Tesla uses water-based paints that are softer and thinner than the solvent-based paints used by many legacy automakers. While this is great for the planet, it means your front bumper is prone to chipping from highway debris.
You cannot apply touch-up paint over wax, ceramic coating, or road grime. The paint will peel off instantly.
Before you even open the paint bottle, wash your car thoroughly to remove all contaminants. If you are new to EV washing, make sure you follow our safety guide: Step-by-Step Guide to Tesla Car Wash Mode.
Once the area is clean and dry, you need to identify exactly which shade of white, black, or red you are working with. Getting the wrong color code is a rookie mistake.
Step 1: Find Your Paint Code
Before you order a kit, you must get the exact color match. Tesla has changed shades over the years (especially white and silver).
Open your driver’s side door. Look for the sticker on the B-Pillar (the door jamb). At the bottom of the label, you will see a code like PPSW or PBSB. Match it with this table:
| Paint Code | Color Name | Difficulty Level |
|---|---|---|
| PPSW | Pearl White Multi-Coat | Hard (3-Stage) |
| PBSB | Solid Black | Easy |
| PMNG | Midnight Silver Metallic | Easy |
| PPSB | Deep Blue Metallic | Medium |
| PPMR | Red Multi-Coat | Hard (3-Stage) |
Step 2: Prepare the Surface
Most DIY paint repairs fail because the chip was dirty. Even if it looks clean, microscopic road oil or wax is stuck inside the crater.
Before you apply paint, wipe the chip with 70% Isopropyl Alcohol (Rubbing Alcohol) on a cotton swab.
This strips away old wax, ceramic coating, and grease. If you skip this, the new paint will not bond to the metal, and it will fall out during your next car wash.
Accessing Low Chips (Rocker Panels)
Rock chips often happen on the lowest part of the car (the rocker panels below the doors). It is very hard to paint precisely while lying on the ground.
For the best results, we recommend lifting the car slightly to get the chip to eye level. However, Tesla batteries are fragile. Never use a standard jack without checking our guide on How to Jack Up a Tesla Model 3/Y Safely to avoid crushing the battery pack.
Step 3: The “Smear” Technique (Dr. ColorChip Method)
Forget the old way of using a tiny toothpick to fill the hole perfectly. That never works. The modern method (used by Dr. ColorChip and similar kits) is much more forgiving.
1. Apply the Paint
Shake the paint bottle well. Use the micro-brush to dab a small blob of paint next to the chip, then gently smear it over the chip with your gloved thumb or the brush. You want the paint to fill the crater completely, even if it looks messy on the edges.
2. The Blending Magic
Wait about 2-5 minutes until the paint is tacky (dry to the touch but still soft). Take the Blending Solution (included in the kit) and put a few drops on a white blending cloth.
Gently wipe over the blob with zero pressure. The solution will dissolve the excess paint on the clear coat surface but leave the paint inside the chip undisturbed. Keep wiping until the surface is flat and level.
If you own a white Tesla, lower your expectations. Pearl White Multi-Coat is a 3-stage paint (Base White + Pearl Layer + Clear Coat).
Touch-up kits try to mix all layers into one bottle. The result is often slightly grayer or yellower than the factory paint. It will look fine from 3 feet away, but up close, it will never be a perfect match. Do not keep scrubbing trying to make it perfect—you will remove it all.
3. Let It Cure
Once you are happy with the level, let it dry for at least 24 hours before washing the car. The paint shrinks slightly as it dries, pulling itself tight into the chip.
✨ Complete the Look: While you have your supplies out, look at your wheels. A perfect paint job looks wasted if your rims are chewed up.
Rim scratches are actually easier to fix than paint chips. Read our DIY Guide to Fixing Tesla Curb Rash to make your wheels look brand new for under $30.
The Verdict: Perfect vs. Protected
Touching up rock chips is an art, not a science. If you stand 6 inches away with a magnifying glass, you will still see the repair. But from 3 feet away? It will vanish.
By filling the chip, you are doing two things: making the car look 90% better and, more importantly, sealing the metal to prevent rust.
Where to Buy the Kits?
You have two main options. We recommend checking both prices:
- The Official Route: Tesla Paint Repair Kit ($60). It matches factory specs but can be tricky to blend perfectly.
- The Easier Alternative: Dr. ColorChip System ($50-$70). Famous in the detailing world for its “Squirt and Squeegee” method which is very beginner-friendly.
The Only Real Prevention: PPF
Paint repair kits are reactive. If you want to stop chips from happening in the first place, the only solution is Paint Protection Film (PPF). It is a clear plastic wrap that acts as a sacrificial layer. It is expensive ($1,500+ for the front), but for soft Tesla paint, it is often worth the investment.
Frequently Asked Questions
How long does Tesla touch-up paint take to dry?
The paint is usually “touch dry” within 1 to 2 hours. However, it takes about 24 to 48 hours to fully cure and harden. Do not wash your car or drive in heavy rain during this curing period.
Can I fix a chip on the plastic bumper?
Yes! While plastic won’t rust like the metal hood, chips on the bumper look ugly (black plastic showing through white paint). The process is exactly the same: Clean > Apply > Blend.
What if I mess up the application?
Don’t worry. The “Blending Solution” in the kit is designed to dissolve the new paint. If you make a blob too big or ugly, just wipe it all off with the solution within 10 minutes and start over.
⚠️ Disclaimer:
GreenMountMotors is not a professional auto body shop. This guide is for DIY cosmetic repair of small chips only.
Deep scratches that go down to the metal may require professional attention to prevent long-term structural rust. Always test chemicals on a hidden area first.
Pingback: Best Mud Flaps for Tesla Model Y & 3 (2026): No-Drill Install Guide - greenmountmotors.com
Pingback: Tesla Glass Roof Crack: Stress Fracture vs. Impact? (Warranty Guide 2026) - greenmountmotors.com